
- Socket Mobile-WW
- Shop Readers & Accessories
- D751 User Guide
DuraScan D751
User Guide

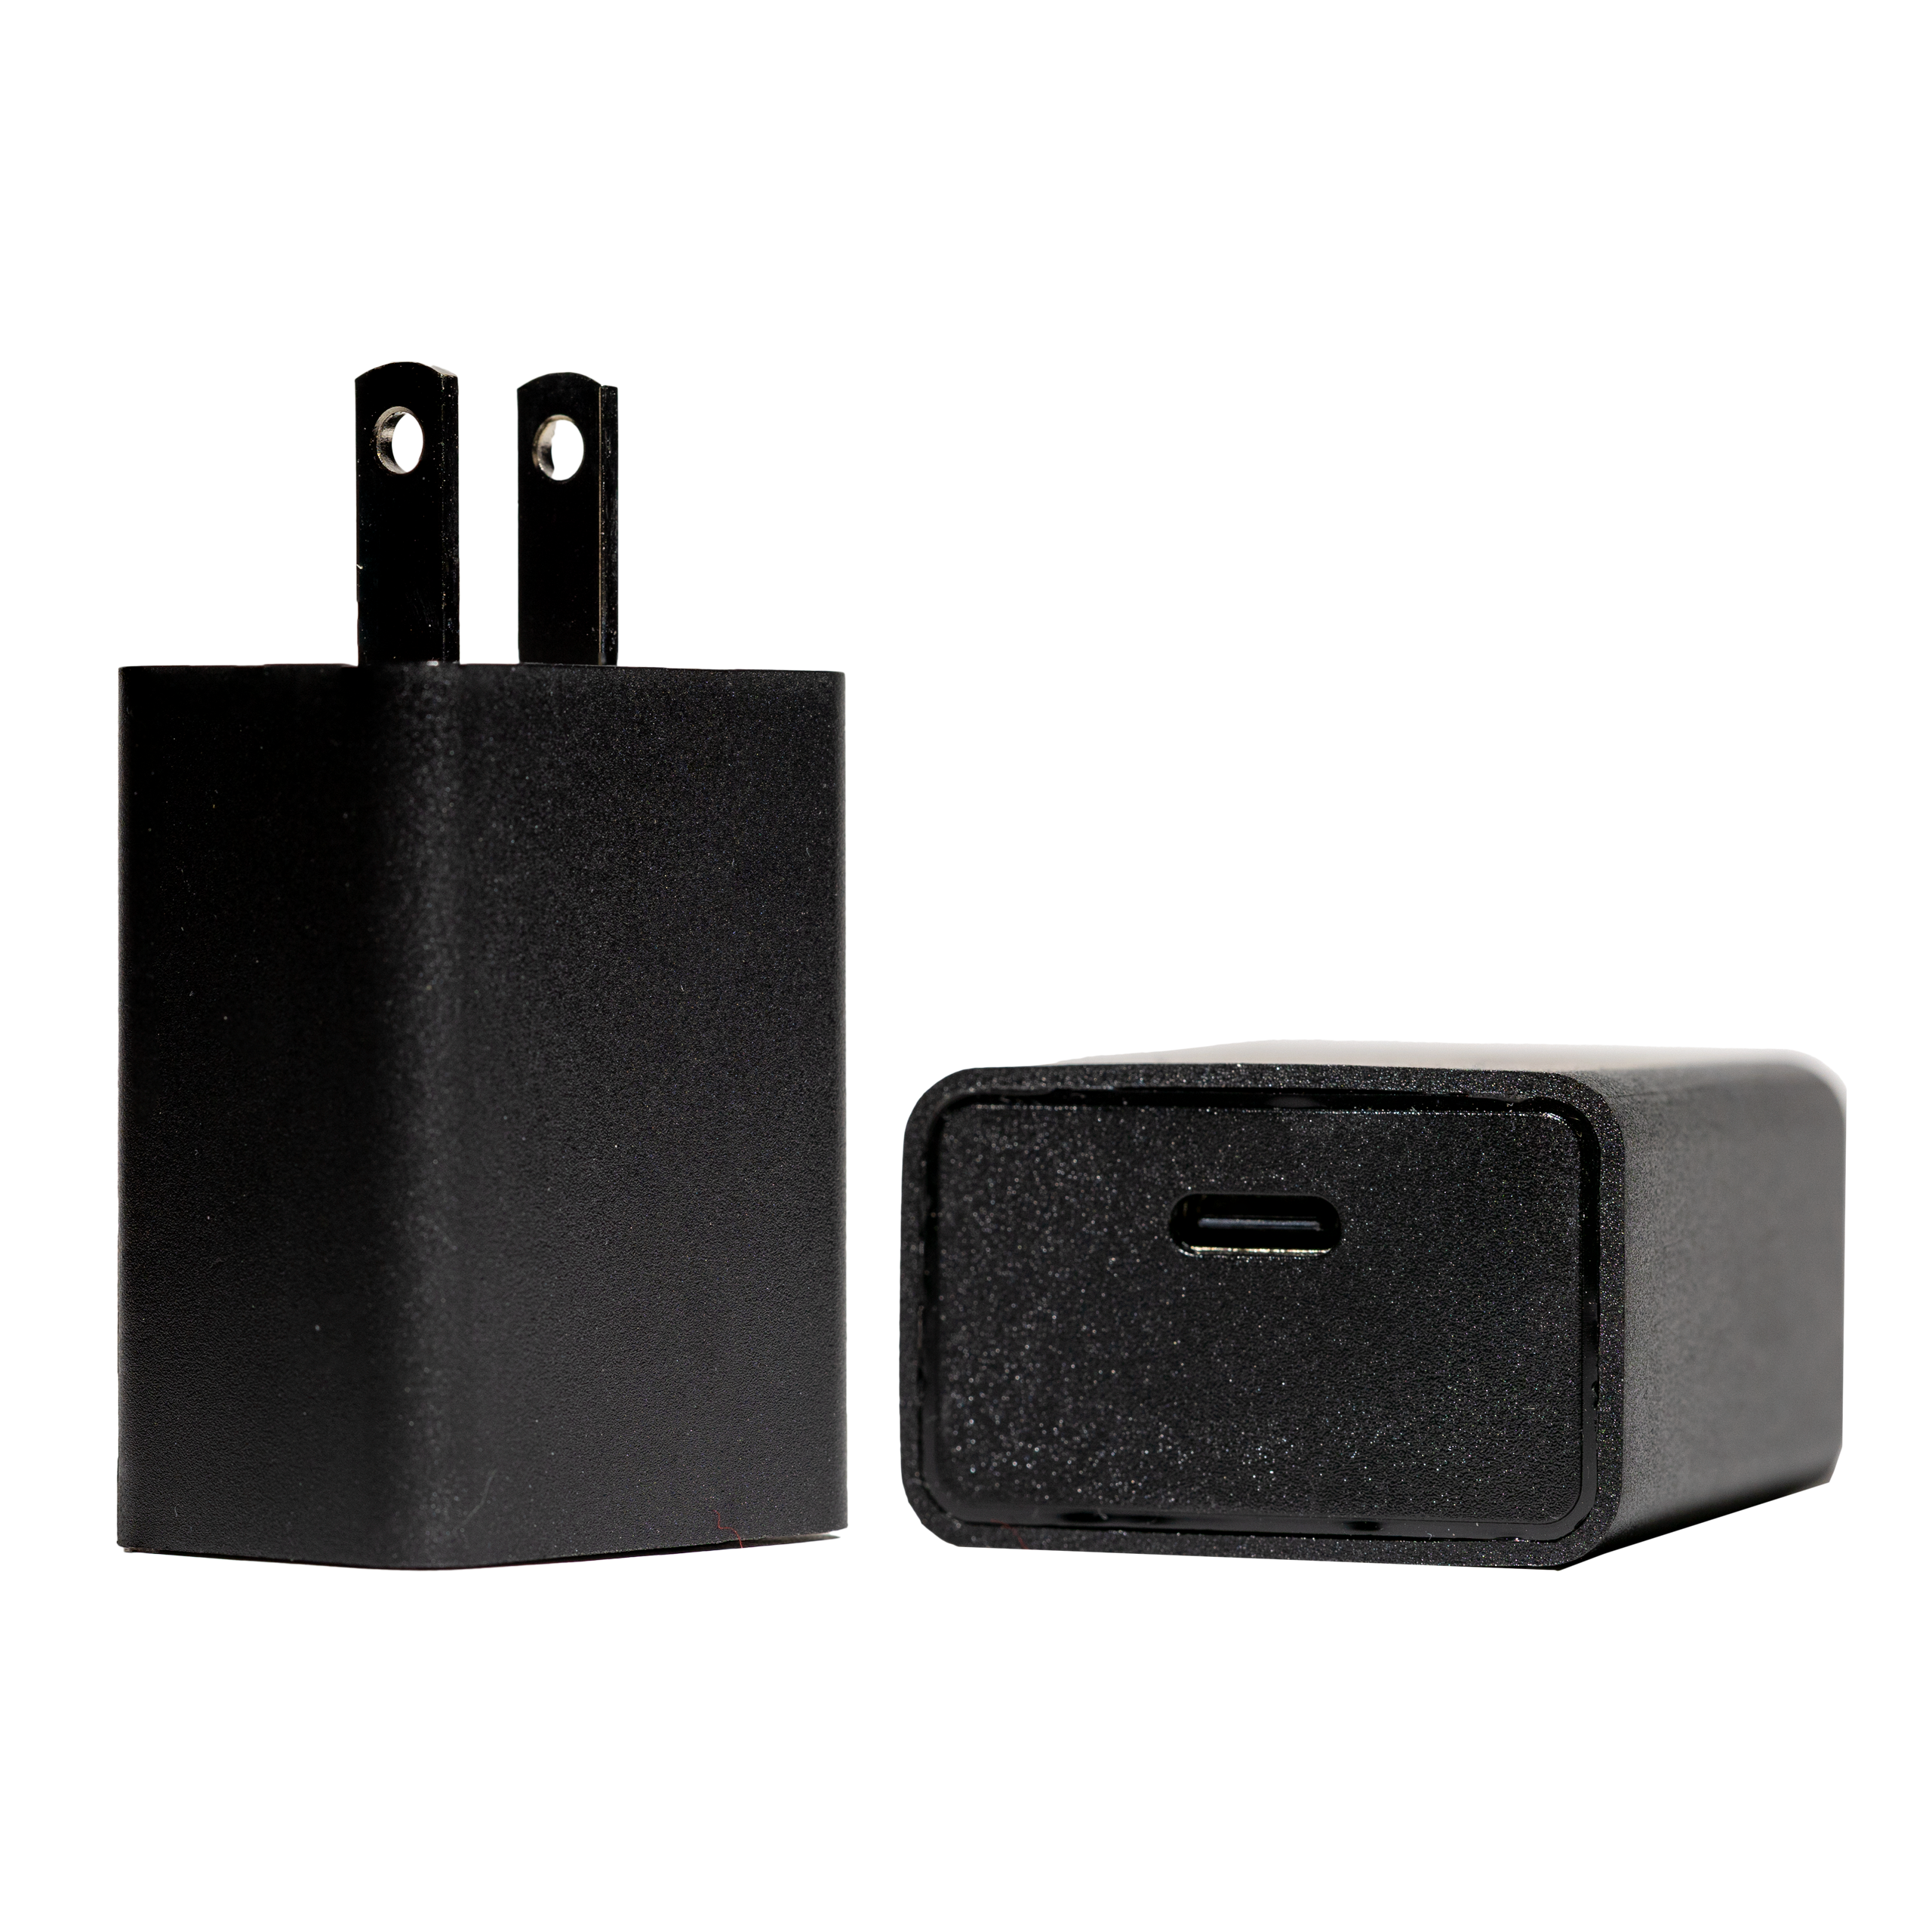
Data reader |
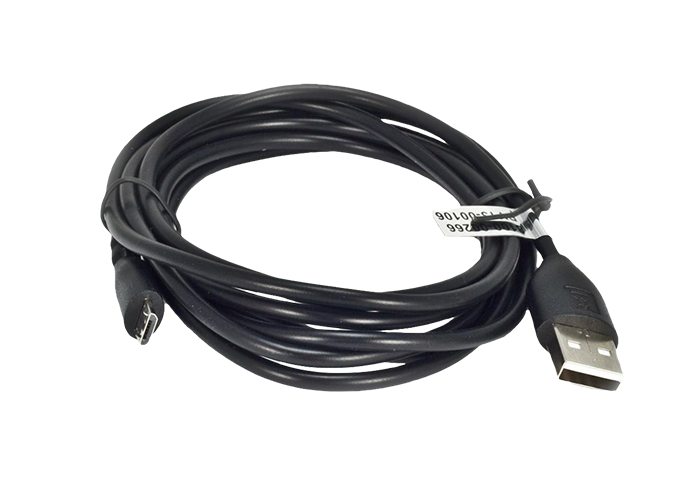
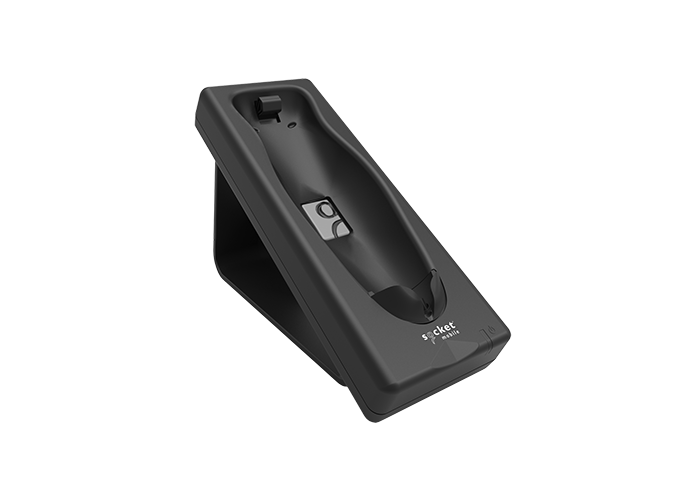
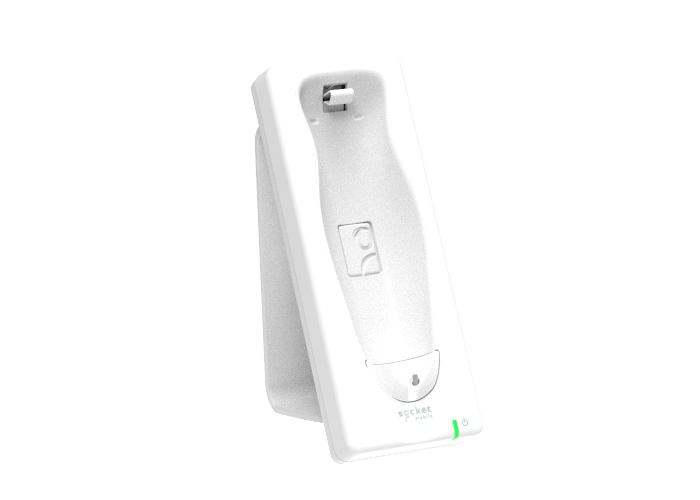
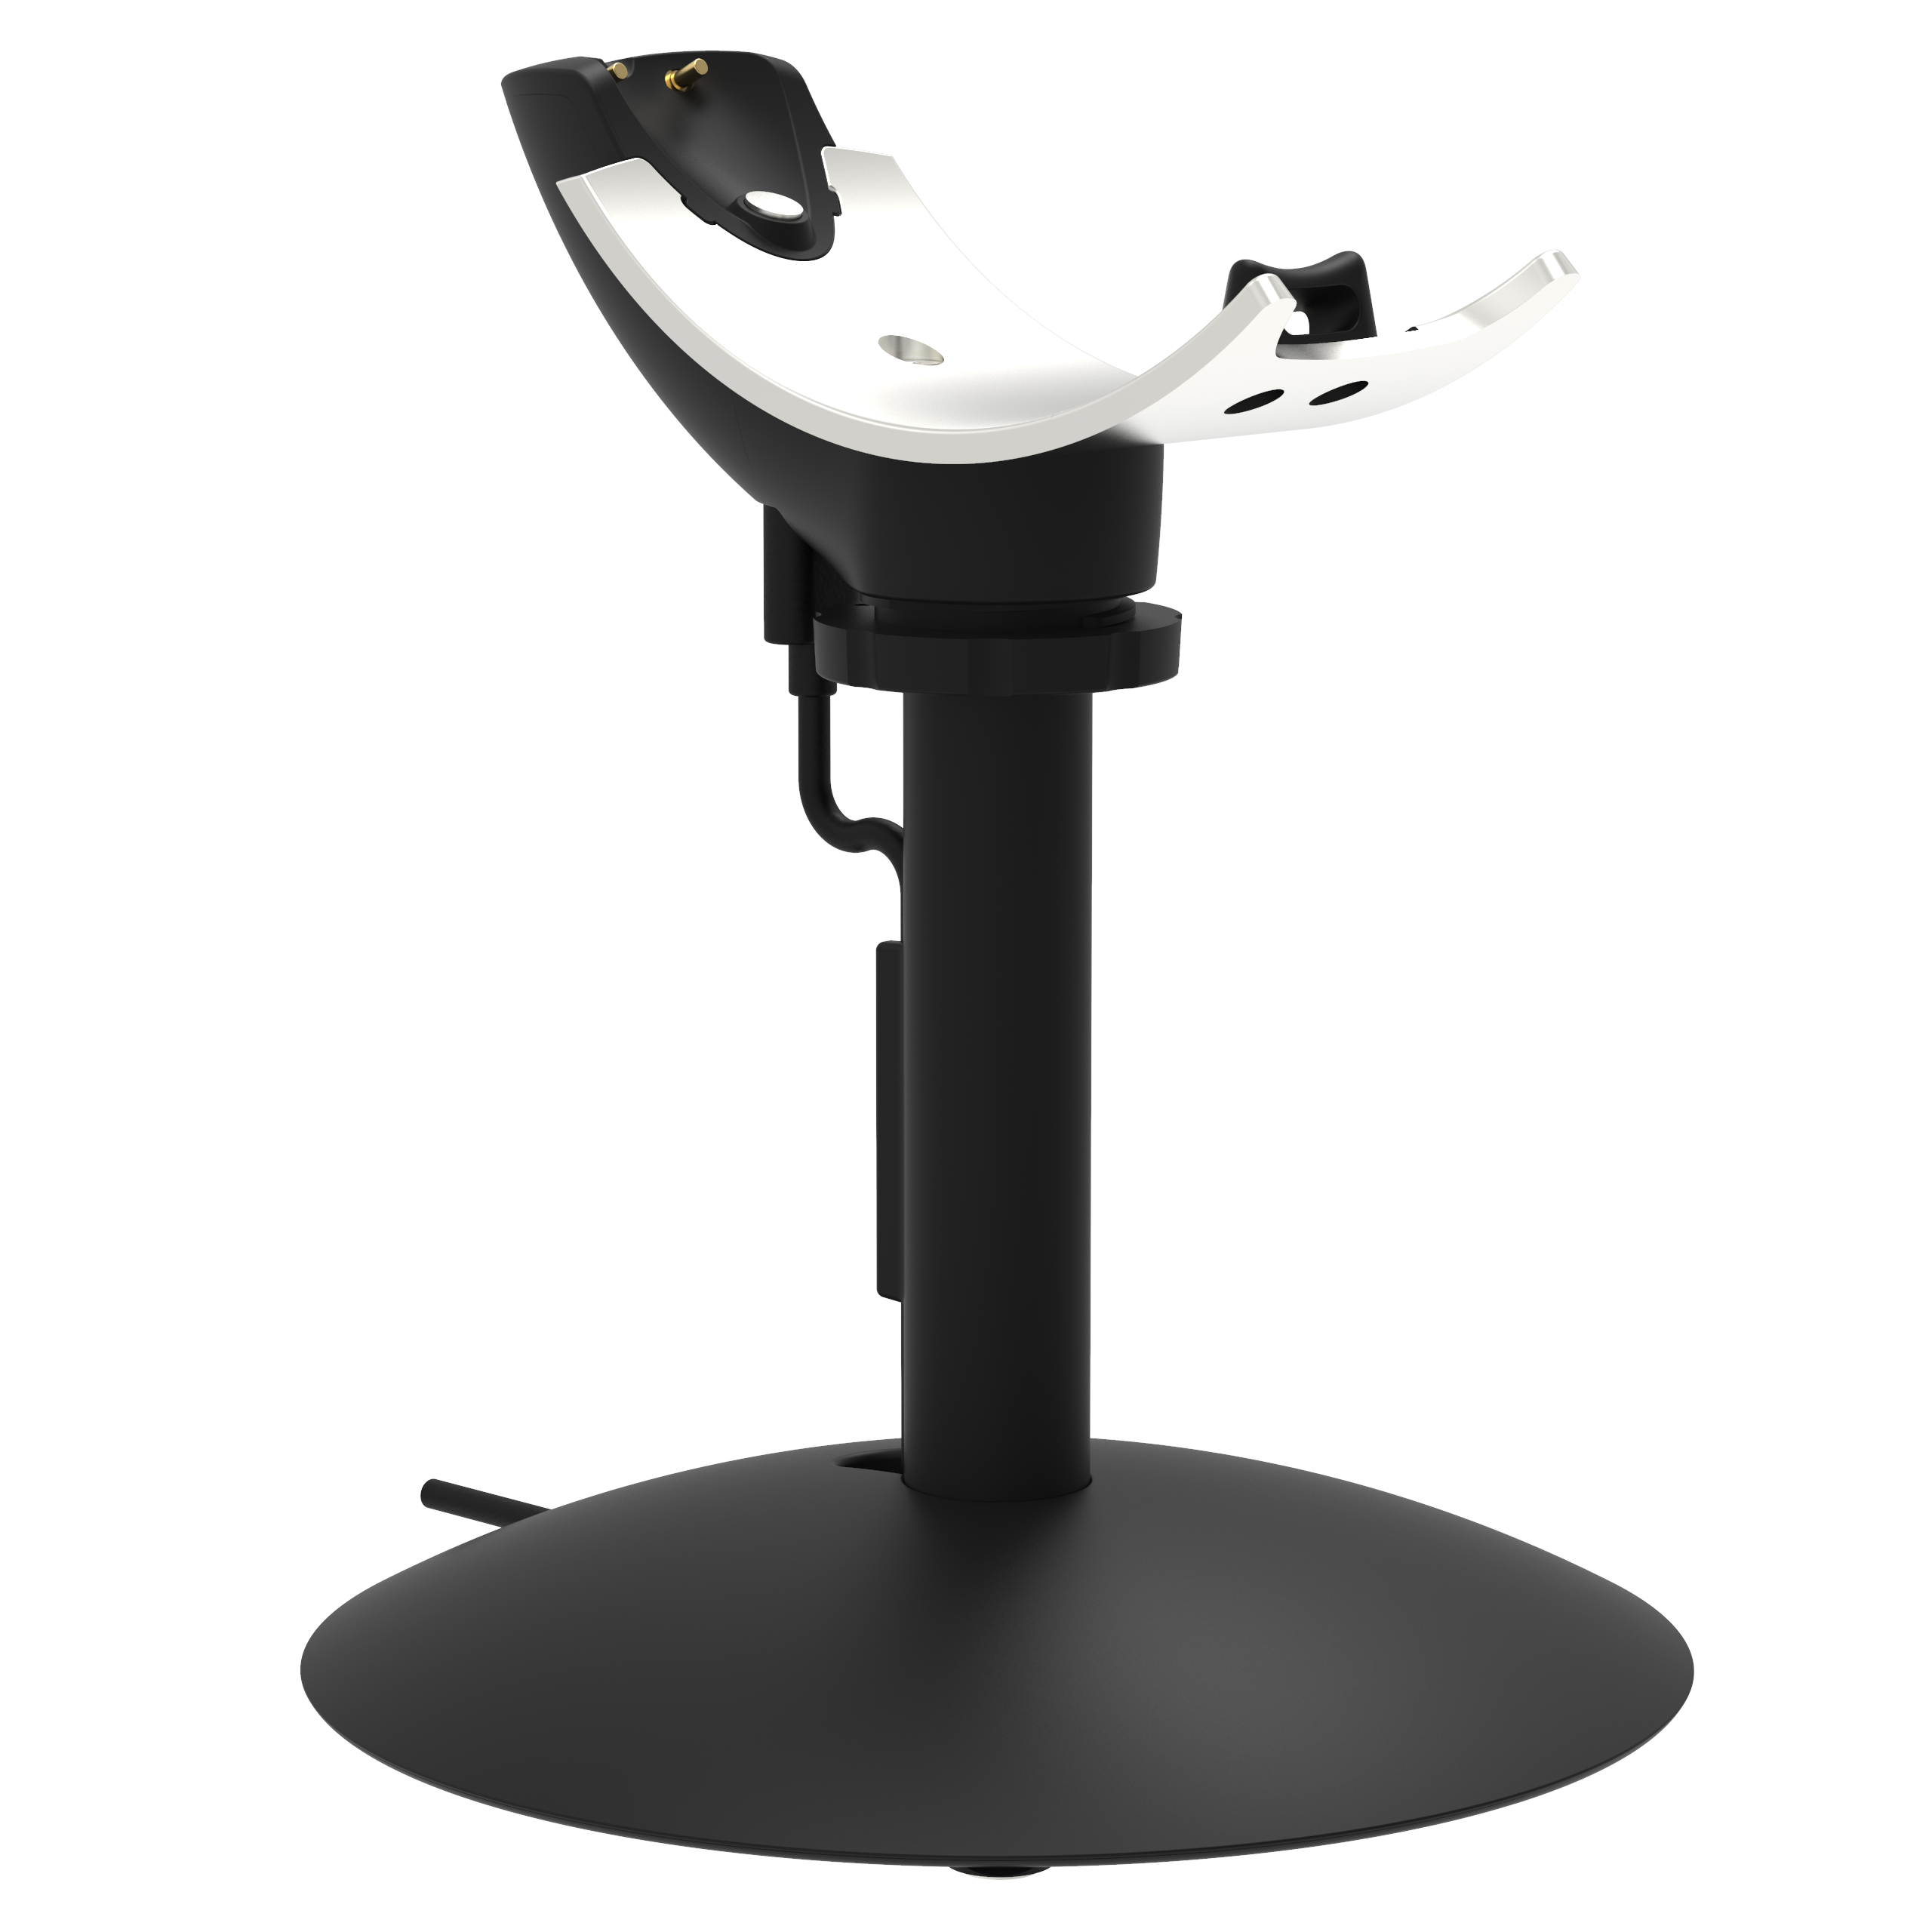
Charging cable, charging dock, or Charging Stand |
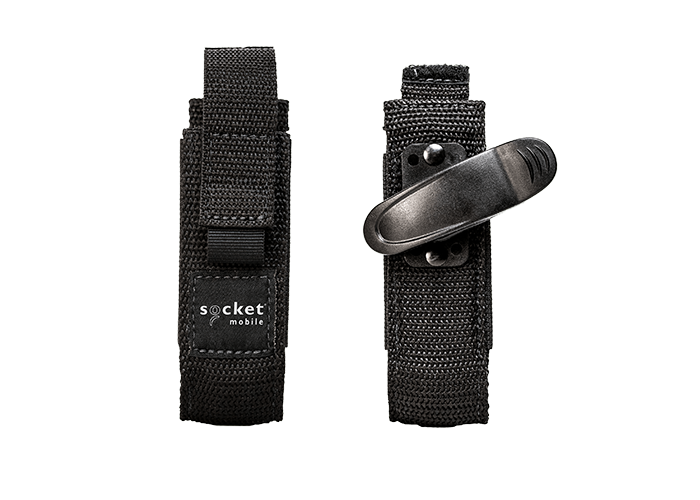
Wrist Strap |


Prior to first use - Fully charge your data reader.
Use a suitable wall charger to charge batteries until the battery light turns solid green (up to 8 hours).
 Charging from a computer or laptop USB port will not provide enough power and could cause charging, connection or scanning performance issues.
Important: Do not charge Socket Mobile data readers in temperatures above 100°F/40°C, as the reader may not charge properly.
Charging Requirements: Min 5.0 VDC, 1 AMP - Max 5.5 VDC, 3 AMPs
Using a charging dock  | Using a charging stand  | Using a charging cable  |
Powering on the data reader: Press and hold the power button until the battery light turns on and the reader beeps twice (low-high). |  |
Powering off or disconnecting the data reader: Press and hold down the small power button until the reader beeps twice (high-low) and all lights turn off. When disconnected from a host device, the reader will automatically power off after 5 minutes of inactivity. When connected to a host device, the reader will automatically power off after 2 hours of inactivity. | |


![]()
Socket Mobile Companion helps you configure Socket Mobile readers from the convenience of a mobile device.
Register a reader and extend your warranty by 90 days
- Add multiple readers
- Purchase accessories (limited availability)
- Browse app partners
The Companion app ensures compatibility with software applications that integrate Socket Mobile CaptureSDK (version 1.9.166 or later)
The Socket Mobile Companion app is designed to ensure you get the maximum utility benefits from your Socket Mobile readers.
Scan this QR code with your mobile device to download our app!

Or click here: Socket Mobile Companion App — App Store

a. Read/Write Indicator LED
b. Battery LED
c. Bluetooth LED
d. Read Button
e. Power Button
f. NFC Antenna
g. Removable Battery Door
h. Charging Port
i. Pins for Charging Dock/Stand
Battery LED
Battery status
(plugged into power supply)
LED activity

Blinking yellow
Charging the battery

Solid green
Battery is full
Battery status
(not plugged into power supply)
LED activity
Solid green
Battery capacity from 100% to 26%
Solid yellow
Battery capacity from 25% to 10%

Solid red
Warning - Battery capacity below 10%
Blinking red
The battery level is critically low.
Alternatively, if the battery charge status is unknown the battery light will flash red until power is connected and the barcode reader is fully charged.
Scan LED
Scan/read
LED activity

Blink green once
Good scan/read

Blink red once
Bad scan/read
Solid red - for as long as power button is pressed
Lights up red
Power button pressed
Bluetooth LED
Bluetooth
LED activity

Quick blinking blue
(2 blinks every second)
Discoverable - waiting for a host Bluetooth connection
Slow blinking blue
(1 blink every second)
Barcode reader is ready to be discovered and waiting for a host to connect. After 1 minute of blinking, barcode reader will stop searching and omit a long tone.
Waiting for a host to connect. Slow blinking indicates the device is ready to be discovered and connected to.

No light - no activity
Barcode reader has attempted to connect and failed.
Press trigger button to try again.
Barcode reader is turned off
Solid blue
Barcode reader is connected
Vibration patterns
Vibration | Sound meaning |
Short pulse | Data successfully read |
Medium pulse | Power on |
Long pulse | Data unsuccessfully read |
Beep patterns
Beep pattern | Sound meaning |
Low-High Tone | Power on |
High-Low Tone | Power off |
High-High Tone | Power supply detected and barcode reader started charging |
1 Beep | Data successfully scanned |
2 Beeps (same tone) | Barcode reader disconnected |
If you are using a barcode reader-enabled application, typically the application provides settings for beep settings.
Configuration Settings
Time after powering on barcode reader | Bluetooth mode |
0-5 minutes | Discoverable and connectable. |
5 minutes | If connection is not made, barcode reader powers off. |
2 hours | If your barcode reader is connected but not used it will power off in 2 hours. When scan button is pressed the timer is reset. |


---socket-mobile.webp?sfvrsn=45207689_1)
---socket-mobileea73269d-3549-4c2c-ab77-e2c31fc64e11.webp?sfvrsn=900536e8_14)


Troubleshooting steps for all pairing and connection issues
If your reader says it is connected and the Bluetooth light is solid, but nothing happens when you scan into your app, please follow the instructions below.
If 1 doesn't resolve the issue, move to 2, and so on.
- Force close your application, ensure it is the latest version and if necessary, update it. Re-open your app.
- Turn Bluetooth off, then back on, on your host device.
- If your host device doesn't have the latest version of the operating system installed, update it.
- If your host device does have the latest version of the operating system installed, restart it.
Troubleshooting steps for all power related issues
- Remove the battery door.
- Extract the battery/batteries and put them to one side.
- Ensure all contacts are clean and dust free.
- After 15 minutes, reinsert the battery/batteries.
- Fully charge the batteries until the battery LED turns green.
We recommend following these steps at the end of the working day and charging the batteries overnight.
For additional assistance, visit our Troubleshooting pages
or

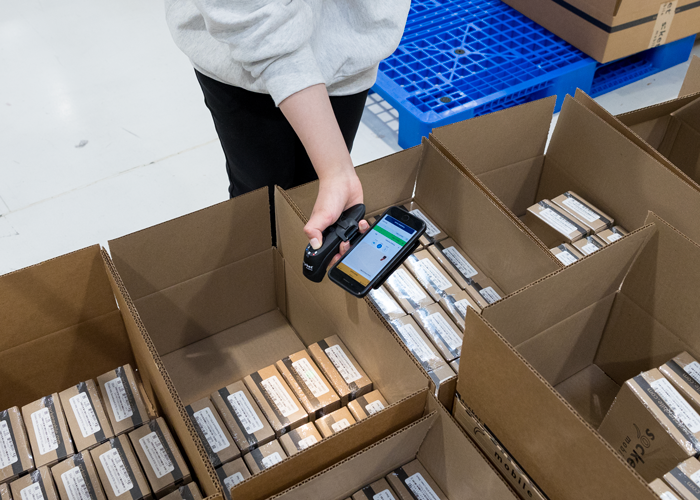
Step 1: Hold the reader on the card, tag or smart device to be read. Note: For best results, the card, tag, or smart device should be parallel to the reader's antenna. |  |
Step 2: Press the trigger button momentarily; the read indicator light turns orange to indicate the reader is pulling data from a tag. Hold the reader steady until the read operation is complete (orange LED turns to green). |
By default, the reader will beep, vibrate, and the read indicator will flash green to confirm a successful read. These default settings can be changed by application commands and configuration cards.
The reader will only read tags while connected to a host device. However, if the trigger button is continuously pressed for 15 seconds, it will initiate continuous reading.
The reader can be configured to continuously read, initiated by a secure tap command from an application.
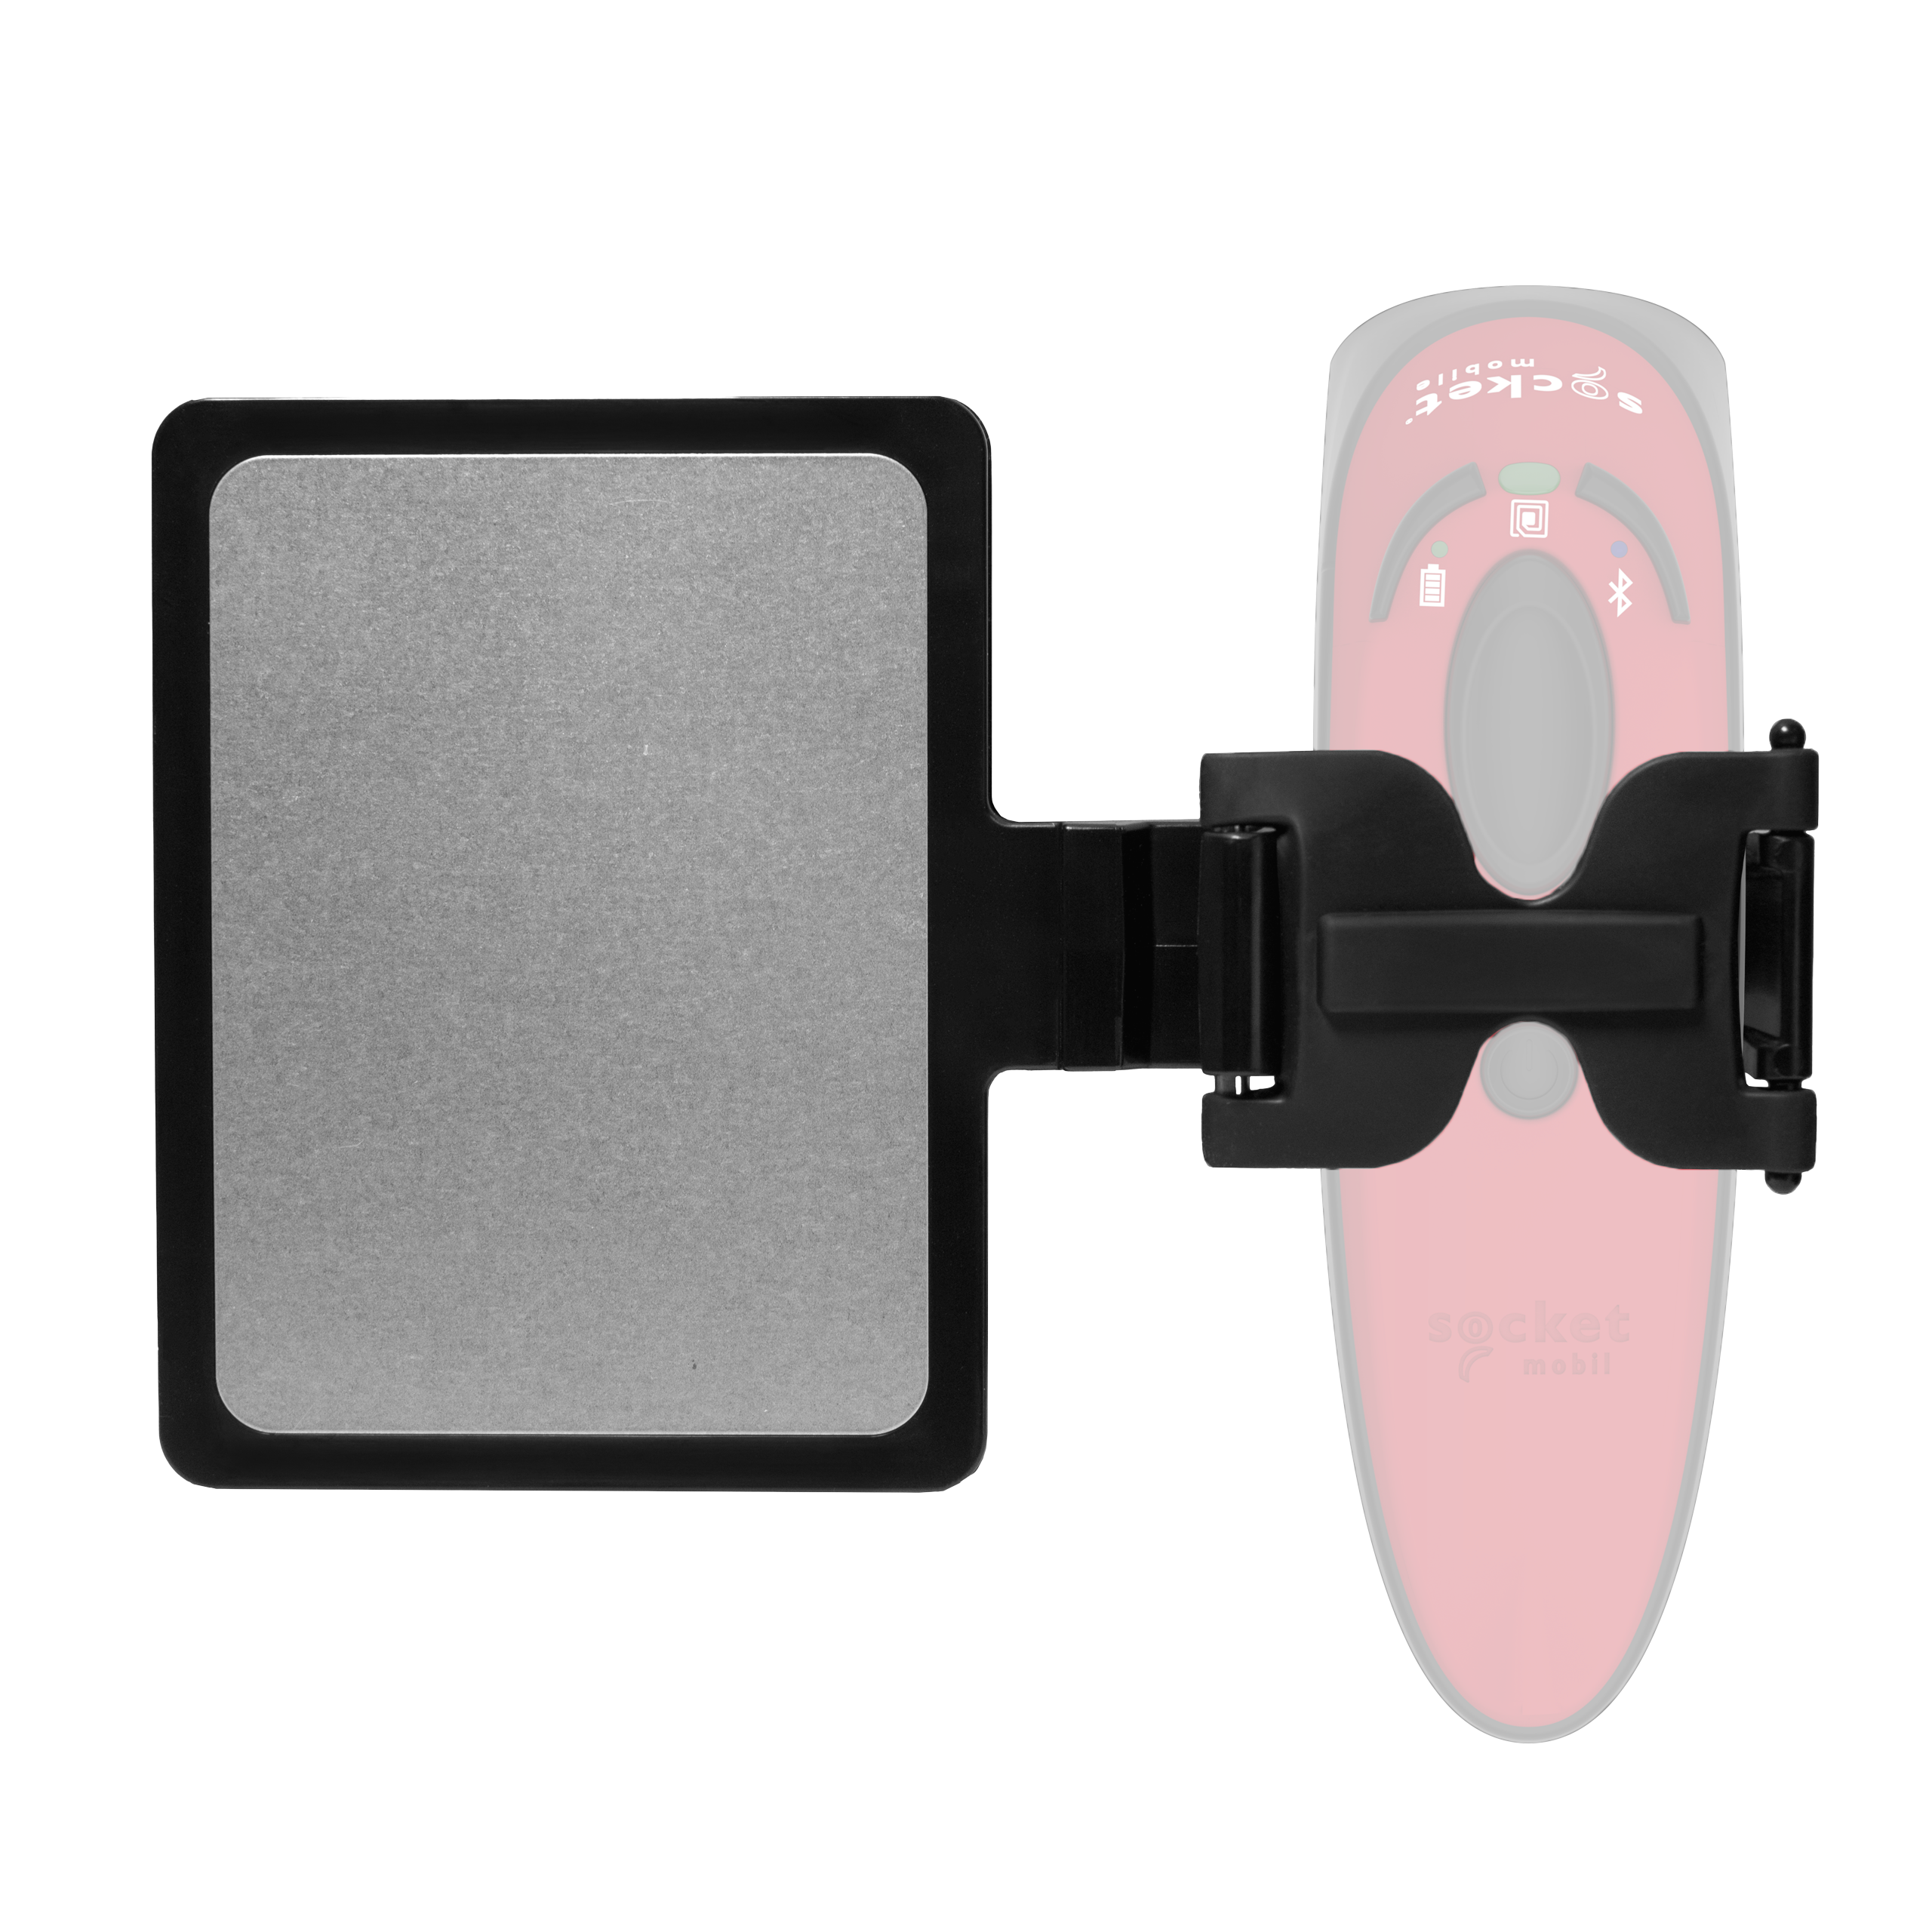
If you have purchased the Socket Mobile Charging Stand, the reader can be charged while reading stationary in Auto Mode.
Pair and connect the reader to your device prior to placing the reader in Auto Mode. The reader is not discoverable when in Auto Mode and in the Stand. This facilitates a fast connection to the current connected device when powered on (for example the start of the new business day).
The Trigger button must be pressed to disable Auto Mode (and enable Mobile Mode) after the reader is removed from the Stand.
The reader will not turn off when it's in Auto Mode and in the Stand under AC Power. To avoid excessive power drain, the reader should not be left out of the Stand in Auto Mode. Either press the trigger button or power the reader off.
Auto mode (in the stand)
Action | Behavior | Notification | ||
Beep pattern | Light activity | Vibrate | ||
Place reader in the stand | Reader switches to Auto Mode | High-high tone confirms proper seating * | Battery status light is disabled | None |
Place an RFID tag in the reader's field of view | Initiate Read operation | 1 beep when data is successfully read | Green light blinks (while reading) | None |
Mobile mode (not in the stand)
Action | Behavior | Notification | ||
Beep pattern | Light activity | Vibrate | ||
Remove the reader from the stand and press the trigger button | Reader switches to Mobile Mode | None | Battery status light is enabled | Enabled |
Press the trigger button | Initiate Read operation | 1 beep when data is successfully read | Green light blinks (while reading) | Vibrate when data is successfully read |
Bluetooth connection profiles
Connect your reader using one of the following Bluetooth connection modes:
Bluetooth mode
Description
Application Mode (RDR) - Default*
Reader Only
Software installation is required
More efficient and reliable data communications for RFID tags containing lots of data
If you have an application that supports the Socket Mobile reader, this is the mode recommended
Application Mode (PC/SC)
Personal Computer / Smart Card
SDK-enabled functions to support read and write capabilities
Bluetooth Connection Profile button sequence
Step 1: Power OFF the reader. | |
Step 2: Press and hold the trigger button. |  |
Step 3: Press and hold the power button while continuing to press the trigger button. Hold both buttons for 10 seconds. |  |
After 10 seconds, release both buttons. The reader will play the Success Melody and it will be powered on and ready to pair in the new mode.
Note: If either button is released before 10 seconds, the reader just performs a normal Power on.
Profile Indications
App “D751 Application” – three tones synchronized with three short vibrations and three green RFID flashes. After, the RFID light flashes magenta for 75 seconds, or until the reader connects, or the trigger button is pressed.
Automatic Reconnections
Each time you power on the reader, it will automatically try to connect to the last device it was connected to.
Make sure the device is in range with Bluetooth turned on. Pressing the trigger button will initiate the attempts to connect. If using Application Mode, make sure the Reader-enabled Application is launched or running. If a connection is made, the blue light will stop blinking and turn solid. If a connection is not made after several attempts, the reader will emit a long beep (and the blue light will turn off).
Configures the reader to factory defaults.
Step 1: Power ON the reader. |
|
Step 2: Press and hold the trigger button. | |
Step 3: Tap the power button once while continuing to press the trigger. Keep holding the trigger button until you hear a beep (about 15 seconds). | |
When you release the trigger button, you will hear 5 confirmation beeps. The next time you power on the reader, it will take longer to start up. After it finishes powering on, it will have factory default settings (Application Mode (RDR)) and will be unpaired from host device.
Note: If you follow this sequence but release the trigger button too early (before 15 seconds and the beep) the Factory Reset will not be successful.
NOTE: If your reader remains in an unresponsive state after following the Factory Reset, Hardware Reset is available to reset the reader as if the battery is temporarily removed.
The Hardware Reset should be the last attempt used to revive an unresponsive scanner. It will reinitialize the core hardware.
- Make sure your reader is powered off and not connected to external power.
- Press and hold the power button until the LED lights goes on and then off (the cycle should take about 10 seconds)
To cancel a firmware update and restore your previous state, follow the Recover Mode (button) sequence:
Step 1: Power Off the reader and disconnect from external power (DC-in Jack, Charging Stand, Charging Cradle). |
|
Step 2: With the end of a pen or stylus, press and hold the Restore Button (located next to the power connector). |  |
Step 3: Connect the reader to external power while holding the Restore Button for about one second. |  |
Step 4: When the reader starts in Recover mode, the Battery and Read LEDs become solid red. |
|
Step 5: Remove the pen from the Restore Button. |
|
Step 6: Tap the Read Button to confirm the firmware. The reader will rewrite its firmware. Power and RFID LEDs blink red for 16 seconds during the process, then the reader will restart. |

Unscrew the battery door. Use a cross head screw driver. |
|
Remove battery door. |  |
Remove old battery and insert new battery. Use only Lithium-Ion Rechargable batteries. Insert battery securing the 2-pin connector. |  |
Tighten the screw. Ensure the battery door is properly placed and tighten the screw, ensuring it is not overtightened. |
|
Fully charge the reader. Using a wall outlet (not a USB port on a computer), fully charge the reader until the battery LED turns green. |
|


Note: This procedure will put the reader in discoverable mode.
Step 1: Unpairing the reader - delete the Bluetooth pairing If the reader is paired with a device, unpair it before trying to connect to a different device.
The reader will unpair and automatically power off. The next time you power on the reader, it will be discoverable. | |